Introduction
In the last six months, I’ve been trying to find a planner that works for my life. As a writer and content creator, it’s important for me to stay organized and on schedule so I can get things done. Last year, I would just use Google Calendar to keep track of my day-to-day tasks—but it wasn’t quite enough. Then I tried out different digital planners planner apps, but found that they didn’t work with my lifestyle either: some were too complicated while others were too simple (and not customizable). Finally, I decided to make my own digital planner from scratch using Canva! So, if you want to learn a few tricks and tips for how to make your own digital planner keep reading.
Also read: The Best Digital Planner For 2023 To Simplify Your Life.
Tips and tricks for how to make your own digital planner
Making your own digital planner is a great way to get organized and stay on top of life’s many tasks. Here are some tips and tricks for how to make your own digital planner that will help you stay on track.
Start by figuring out what digital planner you need
Before you start, it’s important to think about what digital planner you need. What do you want to achieve with the digital planner? Do you want to keep track of your budget, or is this just something that’s going to help organize your day-to-day life? How much time do you have available for planning ahead? Once these questions are answered, it will be easier for us to decide on which features are most important for your digital planner.
Also rea: 16 Glow-Up Tips For Gaining Confidence.
Collect inspiration for your digital planner
If you are a visual person, it can be helpful to look at other planners in order to get ideas of what aspects appeal most to you. You can use Pinterest or Instagram as a starting point, but I also recommend finding planners that have been shared online by fellow planners (on blogs like this one!) and seeing what they have done with theirs.
The best part about using these tools is that there is no limit on how many planners you can see–so if one doesn’t work out for whatever reason, try another! If all else fails, just look around at life in general: what do people around me use? What do they carry around? Is there something specific that I want my planner/filing system/calendar system/etc.
Also read: Discover the 7 Mindsets To Master your Life.
Use the tools you have right now
The first step in creating a digital planner is to use the tools you have right now. Don’t worry about getting super fancy with your planner, just start with what you have available.
For example, if you only have access to Canva or Google Docs then that’s fine! You can still make an awesome digital planner using those programs. But if all of those aren’t available and instead all we have is pen and paper then let’s work with that too!
Using Canva for your digital planner
Canva is a great tool to use for digital planners. It’s free, and it has templates for digital planners. In addition to the templates, you can also choose from many different layouts, backgrounds, and fonts.
This is a great option for those who are looking for a digital planner that’s both free and customizable. The site has lots of different templates, so you can find one that works best for your needs. In addition, it also offers layouts and backgrounds to further customize your planner.
Find a template for your digital planner
You’ll want to find a template for your digital planner. There are many places where you can get free templates, but if you’re looking for something more professional and customizable, there are websites like Etsy or Creative Fabrica that sell them. If you’re not sure what kind of layout or design would work best for your needs, it might be helpful to look at some examples before purchasing one.
Once the template has been purchased and downloaded onto your computer (or tablet), it should open and then the text can be edited as needed.
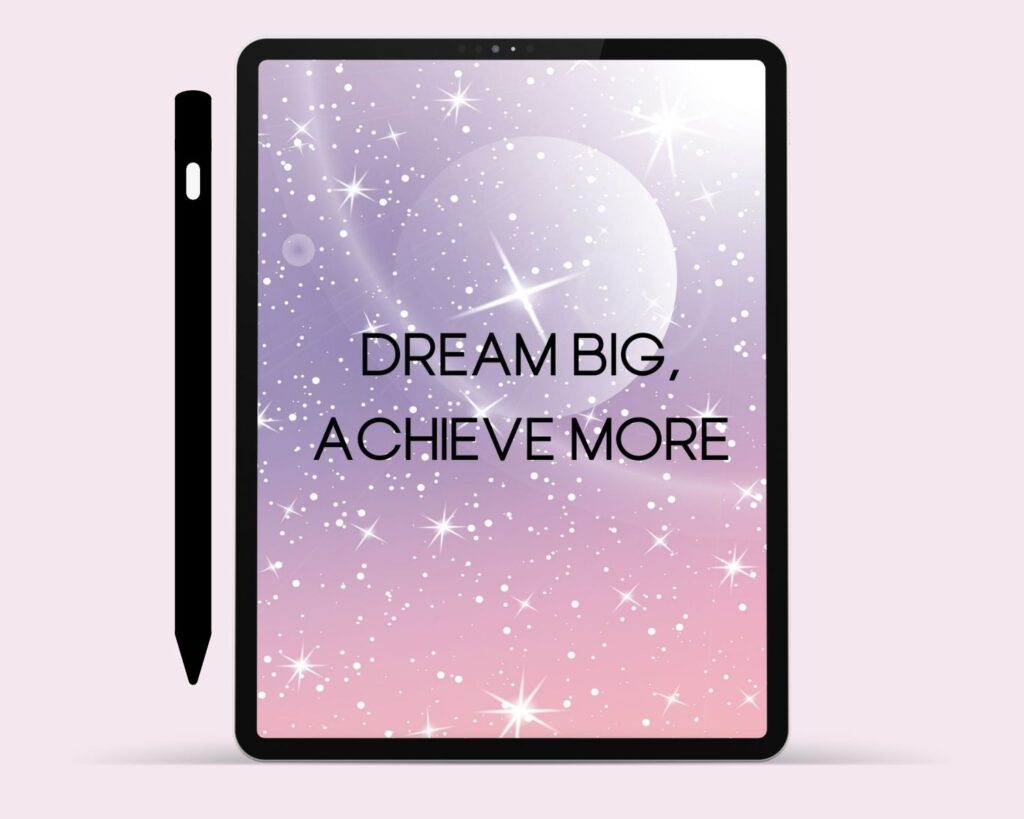
Create a cover page for your digital planner
A cover page is the first thing you see when you open a planner and it’s a good idea to make it as eye-catching as possible. A lot of people like to include photos or quotes on their covers, but don’t feel like you have to do that–it’s up to you! If you want something more minimalist and simple, try using just one colour in your design so it stands out from all the other pages in your digital planner.
Also read: Your Mindset Is Everything!
Set up your digital planner to look the way you want it to
Now that you have your planner set up, it’s time to customize its look and feel of it. If you want something simple, go with a basic template. If you’re more inclined towards something more complex or elaborate, consider using a more complex one.
Once you’ve picked out a template that appeals to you, it’s time for the fun part: adding images! You can also add text elements like headers or footers as well as other design elements such as icons or fonts if desired. Make sure that whatever typeface(s) are used throughout stays consistent throughout so as not confuse users when they navigate through pages in their digital planners later on down the road!
Finally–and most importantly–make sure this digital planner lives up to its promise by being easy to navigate.

Decide what you want to include in your digital planner
The first step in creating your own digital planner is deciding which sections you want to include, and how many pages each section should have. For example, if you’re creating a wedding day timeline for your big day, then it would be helpful to have multiple pages for different aspects of the event (like “Rehearsal Dinner” or “Ceremony”).
When deciding on how many pages per section, consider how much information needs to be included in each area. If there are only a few things going on during one day or week of the month–for example: “This week I’m visiting family in London!”–then having fewer pages may be sufficient enough. However, if your life involves more than just one thing happening at any given time (i.e., work plus social activities), then having more space per month could make sense!
Add or remove sections as needed, and then move on to other areas of the digital planner.
Once you have your basic plan in place, it’s time to add or remove sections as needed. You might find that the weekly layout works better for you than the daily one. Or maybe there are things that don’t make sense for your needs (like a section titled “Workouts” if you’re not training for any races). Whatever changes need to be made, make them now — and then move on to other areas of the planner.
Don’t be afraid to change your mind about anything — even after printing out copies and sticking them into binders! If something doesn’t feel right or work out how intended, try again; eventually, everything will fall into place exactly how it should be.
Next, we need an app for our planner
When it comes to taking notes on an app, there are plenty of options out there. You can choose from a simple text editor or a full-fledged spreadsheet program. You can even use an app that lets you create beautiful documents on your phone or tablet.
But if you’re looking for the best digital planner app, Goodnotes 5 is your best bet. This powerful note-taking app allows you to create beautiful documents on your iPhone and iPad with real-time collaboration. The application lets you take notes in a notebook or outline form and can be used offline or online, so you can work wherever you want without worrying about connectivity issues.
Xodo is another good option for taking notes. Xodo is my second favourite option because it offers a lot of features without being overwhelming and works perfectly on your Android device.
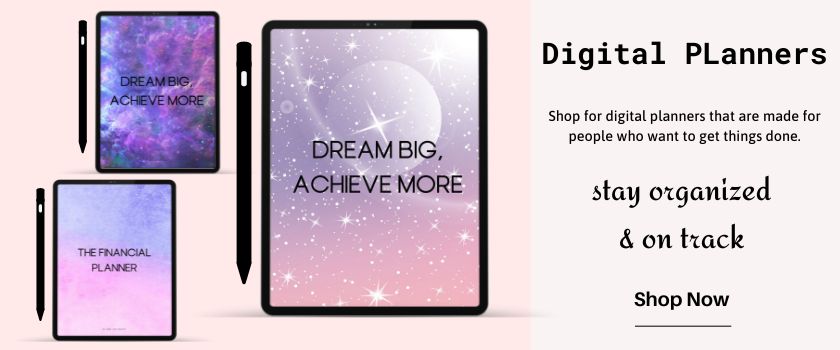
You can create a digital planner that fits your needs perfectly
You can create a digital planner that fits your needs perfectly. It takes some time and effort to create an effective daily planner from scratch, but it’s worth it! Use the tools you have right now, collect inspiration for your planner, and use Canva for your digital planner.
It is possible to create an effective daily planner from scratch
To do so, you need to know what you want from a digital planner and then find the right tools for the job. You also need to be able to use those tools effectively; otherwise, your effort will be wasted. Finally, before starting work on your planner, it’s important that you have some idea of what kind of daily planner would work best for you personally–and then create it!
You can make an effective digital planner, but it takes some time and effort
If you want to learn how to make a digital planner, be prepared to dig in and get your hands dirty. This is not going to be an easy task–it requires planning ahead, setting aside time for the project, patience and organization skills (and probably more).
If this sounds like something that’s right up your alley and fits into your schedule, then go for it! But if not… maybe try creating an old-fashioned paper planner instead or buy one already done?
Conclusion
There are many reasons why people want to create their own digital planners. You may want something that is personalized to your needs and tastes or you may want something that will be easy for you to use on a daily basis. Whatever the reason, creating your own digital planner is not an easy task that anyone can do.
If you don’t have time for that, or if you just don’t want to do it yourself, you should consider buying a digital planner instead! I have been creating my own digital planner for a long time and I am ready to share it with you. I am sure that you will love this planner! It has everything that you need to organize your life. You can get your digital planner from my shop.
I hope you’ve found this article helpful. I know that digital planners can be a great way to keep things organized, but they aren’t for everyone. If you’re still not sure if it’s right for you or if there’s another method that might work better (like paper), then don’t worry!